Thursday, 15 May 2008
Bon Voyage
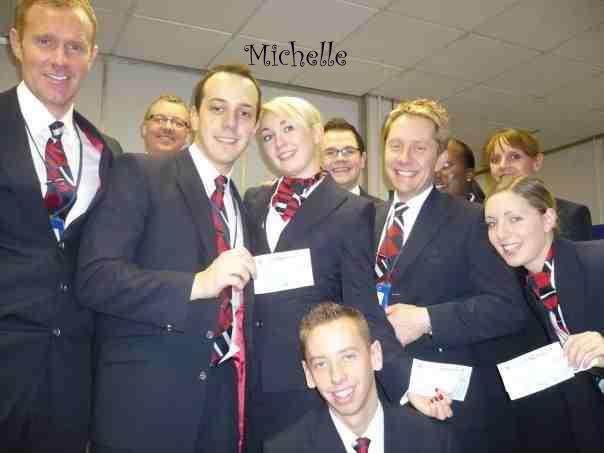
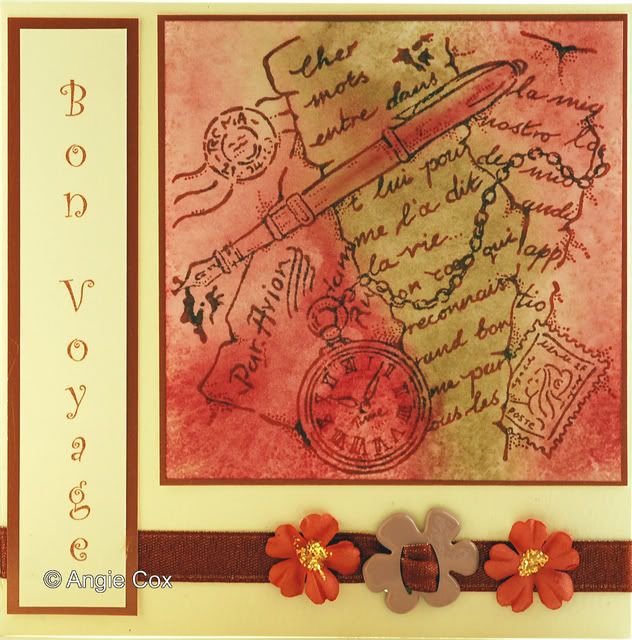
I made this card for my daughter who has recently got a job with British Airways :-)
I used the sketch from Funky Fairys challenge blog and also this card qualifies for two other challenges. Arty Girlz challenge this week is to make something related to Travel / Places and over on Scrummy Stash Cafe blog, the challenge is Bon Voyage.
Wednesday, 14 May 2008
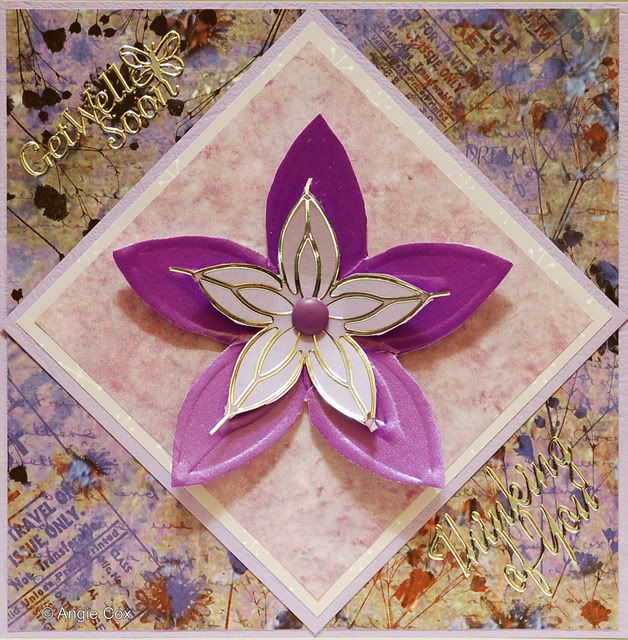
Get well card
I used a lilac square card for the base of the card and added some Crafty Individuals paper, leaving a small edge around the card. I then cut a diamond of lilac cardstock and added two layers of different lilac papers. The main flower is one I made on one of my Keepsake boards, I embossed the flowers and cut them out, and secured it using a purple brad. On the top flower I added a silver peel-off and I used some silicone glue to raise the flower slightly from the background. The card still looked a little bare, so I added some silver peel offs (get well soon and thinking of you).
please click on image to view larger
Monday, 12 May 2008
Di Hickman Sketch Card
Again, not a great photo as it was taken in poor light - but I will try and get a better photo later today.
A Challenge Sketch Card & CMUtd
I used a cream square card and scalloped the edges on the three sides of the card. I cut a large square of copper card and put some Crafty Individulas paper onto it and put this on the card. I added some peach ribbon across the middle of the card and I then brayered a background onto white card and then stamped the Crafty Individuals flower stamp onto it and cut it out. I layered this onto copper card and then onto some DCWV paper.
This card also qualifies for this weeks Challenge on CMUtd Challenge Place, which this weeks theme is to use flowers on your card.
Unfortunately the photo doesn't show the true colours of this - I will try and get a better picture later today
Saturday, 10 May 2008
Funky Fairy's Blog Candy
Over on the Funky Fairy's Inspirations blog they are offering blog candy. All you have to do is leave a comment on the blog saying:- "If you were a Fairy, what would you call yourself & what type of Fairy would you be? So go on and pop over and tell them what fairy you would be.
Tuesday, 6 May 2008
Shout Out to SheetLoad
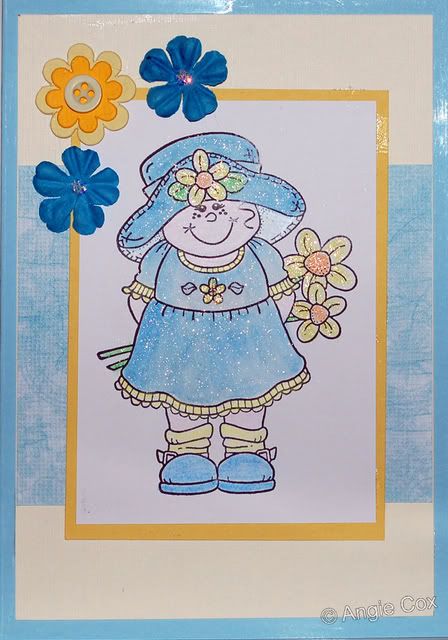
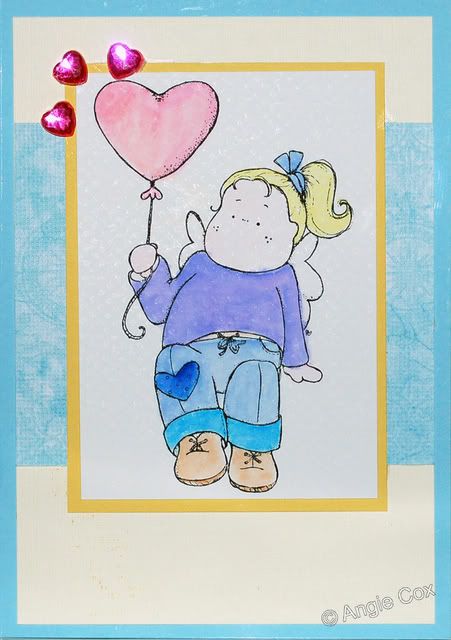
Here are a couple of cards I made using this May issue - as I don't have any Bella's I've used a Cuddly Buddly stamp and a Magnolia tilda. I used Glossy blue cardstock for the main card and then used cream card, DCVW paper, yellow cardstock and white card onto which I stamped and then watercoloured the images. I've also left off the sentiment (from the bottom of the card) until I know what I'm using these for.
Labels:
buttons,
Cuddly Buddly,
DCVW,
Flowers,
Gems,
Magnolia,
Sheetloads
Birthday Book Envelope
This is a C6 envelope which I decorated for the Craft Swap Forum Birthday books. I used a brilliance ink pad and a brayer to cover the envelope with ink and spritzed it with some gold glimmer mist. I then used my new Laura Ashley stamp on the envelope. The insert, again I brayered and then I used a crafty individuals stamp on it and a small bloom stamp which I think is a Docraft one.
This is my 4th attempt at doing my envelope and as the deadline is Wednesday, I really need to post it.
Monday, 5 May 2008
A few Candy Blogs
Firstly, Michelle has some gorgeous purple blog candy up for grabs as she has reached 40,000 hits on her blog.
Next, Ila has some Birthday candy up for grabs and also her daughter Trina has Birthday candy up for grabs too.
Also, Kitty has some beautiful blog candy off for grabs.
Dont forget to pop over to the above blogs
Next, Ila has some Birthday candy up for grabs and also her daughter Trina has Birthday candy up for grabs too.
Also, Kitty has some beautiful blog candy off for grabs.
Dont forget to pop over to the above blogs
Happy Bank Holiday Monday
Friday, 2 May 2008
Two Cards - One Challenge
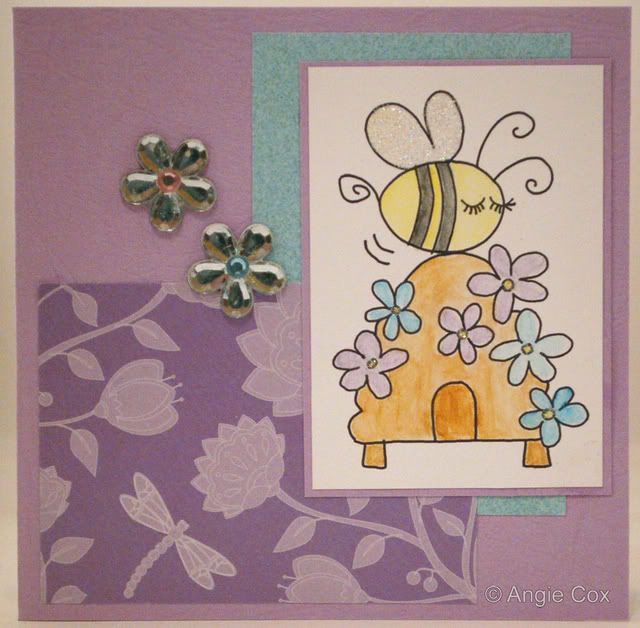
I needed to make a couple of cards to send off to a few friends, so I based both of these on Nicola's sketch over on My Paper World.
please click to view larger
The first card I used some scrapbook paper from my stash and the little bee image is from pink petticoat - I printed it out and then watercoloured it and added some glitter to it's wings. The gem flowers are crafty bitz embellishments.
The second card I used some lovely papers and a stamp from Crafty Individuals. The four birds are stamped onto an alcohol inked background. The little "for you" which I also stamped was part of a PIF I received from one of my SBS-13 sisters, Richelle. I then punched a couple of little flowers and attached them using brads.
Labels:
Alcohol Inks,
Brads,
Crafty Individuals,
Pink Petticoat
Thursday, 1 May 2008
So Proud
I'm so chuffed for her and also sooo proud of her.
click for a larger view
Wednesday, 30 April 2008
A Couple of Altered CD's
These are CD's I altered as little gifts for a couple of my crafting friends who's birthdays are both today.

I used alcohol inks on one side of the cd and then stamped my Paper Artsy swirls stamp randomly over the cd using black ink. I then used a couple of stamps I got from "I brake for stamps" and stamped using black ink onto blue paper and then mounted the images onto the cd. The other side of the CD's I've covered with scrapbook paper and then I used some K & Co stickers to decorate them.
The challenge on Lots to do Challenges blog this week is to alter a cd :-)
Labels:
Alcohol Inks,
CD's,
I brake for stamps,
K and Co,
ribbon,
Stamping
A Couple of Birthday Cards
Serendipity Card for Gia
I then used one of my Paper Artsy stamps and a versamark ink pad and stamped all over the papers. I added gold embossing powder and heated it. I then cut it up into squares and mounted them onto some black and then gold mirror card squares. I took a piece of cream card and stuck these onto it and then mounted the whole thing onto some gold glitter card. I then simply added a pink flower using a little purple brad. This is a great way for using up all the little scraps us crafters love to keep :-)
Saturday, 26 April 2008
A Qucik Hello
Just thought I'd best make a post as it's been some time since I added to my blog. I have been quite busy the past week or so as we went away for a few days to the Lake District. We have also had two new sheds arrived this week, so we've been busy sorting the back garden out and lots of levelling for the sheds to go on. We have finally finished putting the sheds together, just a few last touches to do now.
I hope to be back posting regularly very soon. I have made a couple of Birthday cards today for some friends, but can't post them until after they have been received.
Bye for now
I hope to be back posting regularly very soon. I have made a couple of Birthday cards today for some friends, but can't post them until after they have been received.
Bye for now
Wednesday, 16 April 2008
From Me To You
This first item is an old CD which I altered. I cut the cd shape out of some lilac paper which was out a kit I got ages ago from QVC. I stamped the little girl onto the paper and then added distress embossing powder and heated it. I then added the letters onto the top of the cd - these again are from a QVC kit. I then stuck this paper onto the front of the cd.
For the back of the cd I used my alcohol inks to cover it and then when it was totally dry, I used some Squiggly Inc stamps from Paper Artsy and randomly stamped the swirl pattern. I took a piece of glossy card stock and my cranberry and wild plum alcohol inks and inked up the glossy cardstock. I then stamped another little girl using stazon ink onto the alcohol inked background, I rounded the corners and then simply added a little flower using a brad to fix it in place . Both of the little girl stamps are from Paperbag Studio's and are from the Dreamer set.
This is my very first altered cd and I am quite pleased with the end result and can see me doing lots more of these.
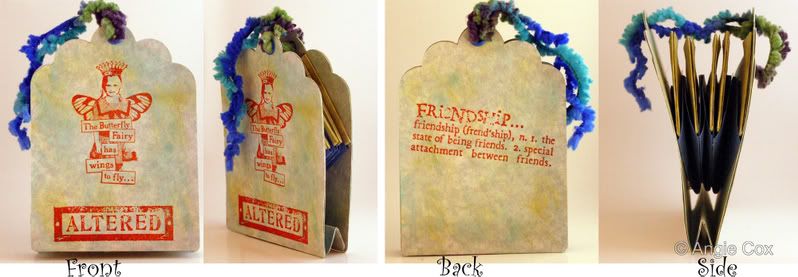
The next item I made for Nicky is a little tag booklet with small concertina pouches inside. This project was in the Craft Stamper magazine and I just had to have a go at it. I must say mine didn't turn out as I wanted / thought it would - but it was my first time, so maybe I will have another go sometime in the future.
I cut the tag booklet template out of some card which already has a sort of bluey mottled effect to it and then I used a little distressed ink on it. I decorated this using Cat's Life Press stamps and rusty brown stazon ink.
Click on pics for a larger view
I cut the tag booklet template out of some card which already has a sort of bluey mottled effect to it and then I used a little distressed ink on it. I decorated this using Cat's Life Press stamps and rusty brown stazon ink.
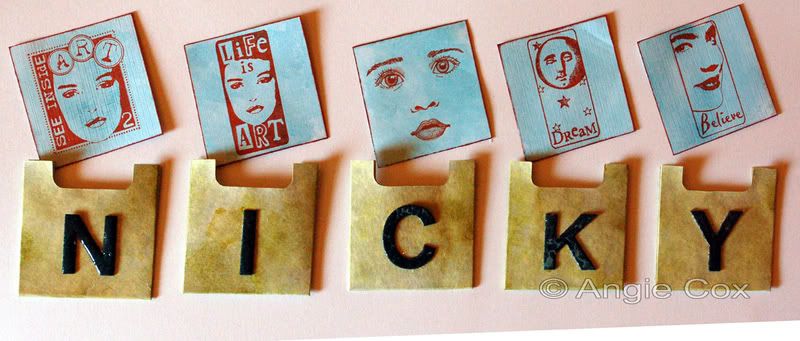
For the concertina flaps inside, I made 5 little folders/pockets from the same mottled cardstock and then used some green distress inks and gold glimmer mist to colour them. I used some chipboard letters which I covered in distress ink and then I triple embossed them - spelling out NICKY. I attached these onto the front of the little folders. For the inside of the little folders I cut some white cardstock into squares and used blue distress ink to colour them. I used various Cats Life Press stamps, mainly pictures on the front and words/quotes on the back.
Friday, 11 April 2008
Dotty About Tags
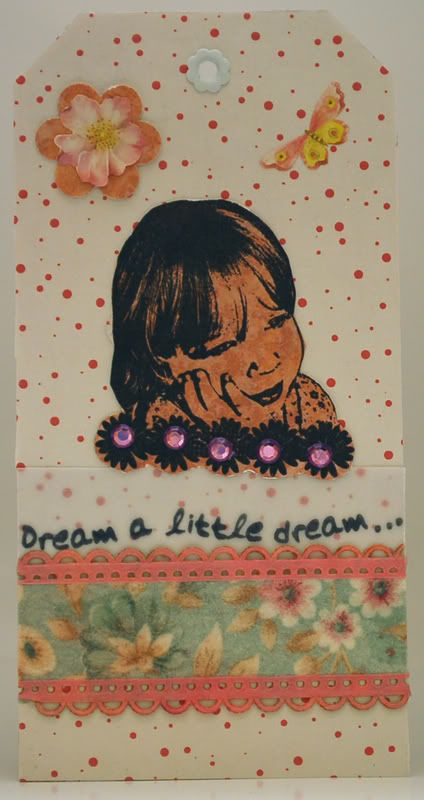
I covered the front of my tag with white and pink dotty paper. I stamped the Paperbag Studios little girl stamp onto some pink paper using black stazon ink and then cut her out. I added some pink gems onto the centres of the flowers on the little girl stamp and then mounted it onto the tag. I stamped "dream a little dream" onto some white vellum, again using a black stazon ink pad and I attached this to some floral ribbon and then placed it onto the tag towards the bottom. The tag looked a little bare at the top, so I added a little butterfly an a flower. I then added a white eyelet to the tag and will add some pink fibres when I get some.
Please click on pic for larger view
Tuesday, 8 April 2008
All Stitched Up
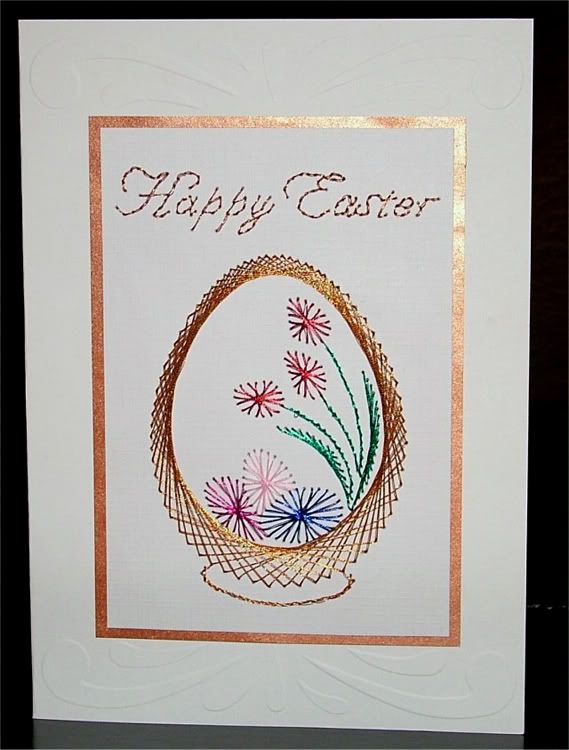
Something a little different from me today, no stamping, inks or mess. This is the very first stitching card I have done. The template / pattern I bought from Stitching Cards Com.
For the main card, I used a white A5 sized card and dry embossed a design at the top and bottom of the card using my shapeboss. I then used a piece of white card and pricked the holes in the correct place and then stitched using metallic threads. When the stitching was done I layered it onto some copper mirror card and then added it to the A5 card.
This card first in nicely with My Time To Craft challenge, which this week is "In Stitches"
For the main card, I used a white A5 sized card and dry embossed a design at the top and bottom of the card using my shapeboss. I then used a piece of white card and pricked the holes in the correct place and then stitched using metallic threads. When the stitching was done I layered it onto some copper mirror card and then added it to the A5 card.
This card first in nicely with My Time To Craft challenge, which this week is "In Stitches"
please click on pic for clearer view
Monday, 7 April 2008
Tag Your It
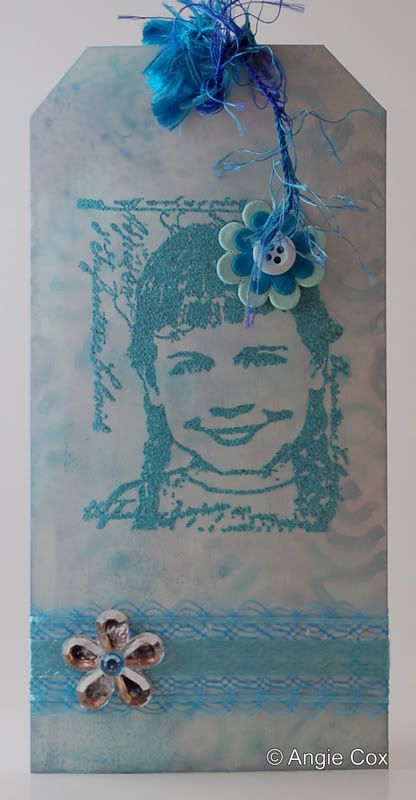
Whilst blog hopping this morning I came across a new challenge blog Weekend Taggers. The first challenge is "shades of blue".
I cut my card to 6" x 3" and cut the corners off the top to make a tag shape. I used my distress ink pads (broken china and weathered wood) to create the background. I then used one of my Paperbag Studio stamps and stamped it using a versamark ink pad and then sprinkled the image with broken china distress embossing powder and heat set it. I then added a blue button flower in the girls hair and put some blue ribbon across the tag close to the bottom and added a shiny gem flower with a blue centre. Finally I added a blue eyelet and some blue fibres.
Click for larger view
Sunday, 6 April 2008
Sunday Stampers - Week 11
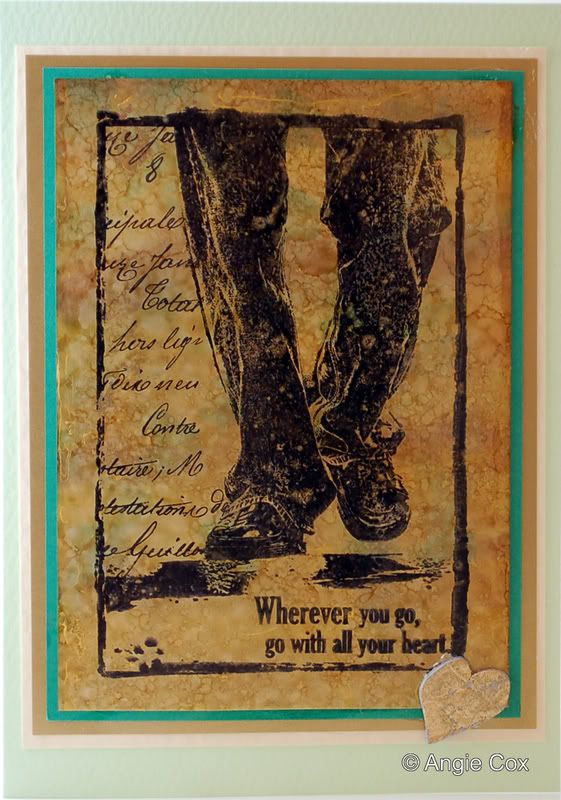
I used my alcohol inks to make my background onto which I stamped my image. I used latte, ginger and caramel alcohol inks and then added just a touch of demin and then dabbed with a bit of ink out of my gold krylon pen. Once I was happy with the look of my background I spritzed it with some gold glimmer mist. I then stamped the Papgerbag Studio's stamp onto the background using an adirondack black ink pad. I then layered the image onto some green card, gold card and then some cream card and finally mounted this onto a light green A6 card. I added a little grungeboard heart which I coloured in gold using my krylon pen.
Please click on pic for a larger view.
My First Skinny
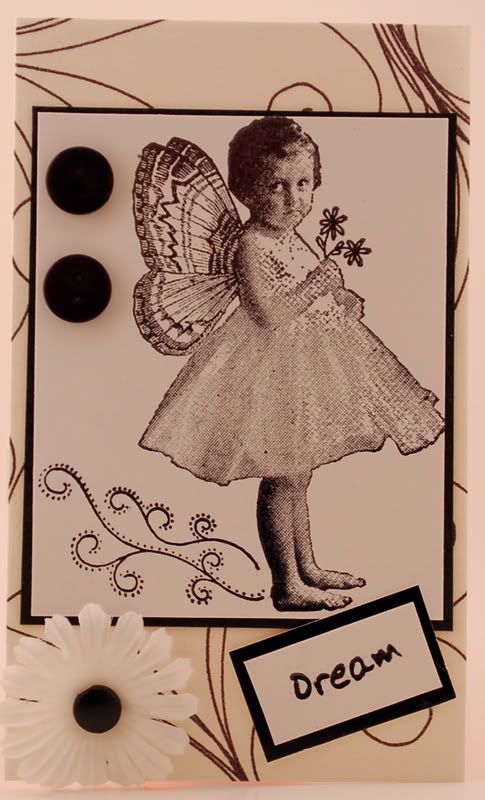
This is the first Skinny I have made. For those who don't know what a Skinny is, it is simular to an ATC but the size has to be 3" wide x 5" tall. As with an ATC, you can decorate / embellish it how you like.
I cut my card to size and covered it with a swirly background paper. I stamped my little fairy (lLost Coast Designs) stamp onto white card using stazon black ink and then layered this onto some black card. I used my "Dream a little dream" stamp and just stamped the Dream onto white card and layeed it onto black card to match the main image. I then added 2 papermania black buttons and a papermania flower attached with a black brad.
I made this for the Skinny Saturday challenge blog - this weeks theme is open, so you can make what you want.
please click to view larger
Long Tall Sally
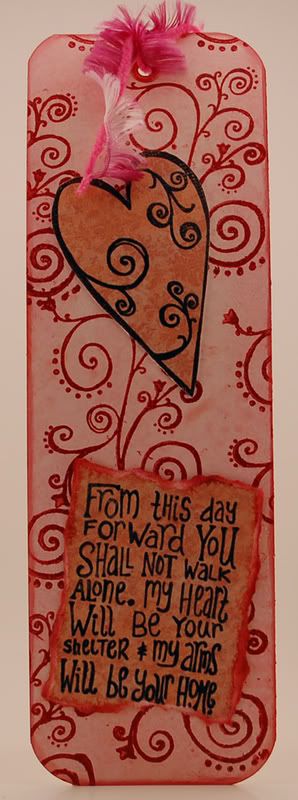
This is a bookmark I made for this weeks challenge on Funky Fairies blog - which was "I want you to make something tall and skinny"
I used worn lipstick and tattered rose distress inks to make the background of the bookmark. I then used fired brick distress ink and stamped the swirl stamp (Paper Artsy) over the background and added fired brick distress embossing powder and heat set it. I then stamped the heart swirl and sentiment stamp onto some pink paper using a black ink pad and added clear embossing powder and heat set it. I tore the paper around the sentiment and I cut out the heart and mounted them both onto the bookmark. Finally I edged it with fired brick ink and added an eyelet and some pink fibres.
Labels:
Bookmark,
Distress Inks,
Embossing Powder,
fibres,
Paper Artsy,
Stamping
Thursday, 3 April 2008
Birds of a feather
This card is not one of my better ones LOL. It is the first time I've tried blending inks to make a background and I think I need more practice at blending the colours together.
This card is for the challenge on Scrummy Stash Cafe blog, which this weeks theme is to use Quotes or Sayings on your card. My quote says "Birds of a feather flock together". The bird stamp I used is a Tim Holtz stamp and the feathers stamp is from I brake for stamps.
Tuesday, 1 April 2008
Ismaki Challenge and My Time to Craft
This card I made using the sketch challenge on Ismaki
It also qualifies for last weeks challenge on My Time to Craft, which was Sparkle "Use shiney card, gems or glitter".
I used pink petticoat papers, some cuddly buddly papers and some bits of card from my stash. I stamped the Cuddly Buddly stamp, Charley onto white card and watercoloured it and then cut it out. I added 3 large flower gems, which are nice and sparkly and also a prima flower.
please click to view larger
Sunday, 30 March 2008
Beautiful Bird
I have been playing with some more of my new stamps today and I really love how this card has turned out.
I used an A5 card and covered it with some Pink Peticoat Designs paper. I put lilac ribbon down the left hand side and also across the card, close to the bottom and added a purple flower with a large brad. I used my alcohol inks to make the backgrounds for the images and I stamped them using black stazon ink. I layered the stamped images onto white card and then purple card, then added them to the main card.
Both of the stamps I used on this card I bought from I brake for stamps.
click on image to view larger
Labels:
Alcohol Inks,
Flowers,
I brake for stamps,
ribbon,
Stamping,
Stazon
Going for green - SS week 10
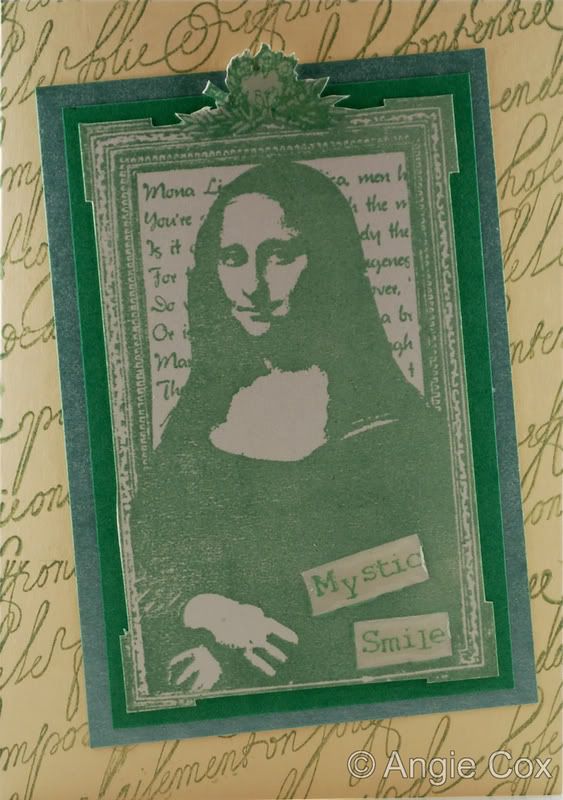
This is the card I made for the Sunday Stamper challenge, which this week, was set by Lesley. As green is her favourite colour, the challenge was "make sure that whatever you make features the colour green".
I used a cream A6 card and stamped a calligraphy stamp (Lost Coast Designs) in green ink all over the front of the card. I then stamped the Mona Lisa (I brake for stamps) stamp in green ink onto white card and cut out the stamped image. I then layered the image onto two shades of green card and highlighted the wording on the stamp (Mystic Smile) using 3d gloss.
Both of the stamps I used for this card are Lost Coast Designs
click on image to view larger
Saturday, 29 March 2008
Quite a productive Saturday
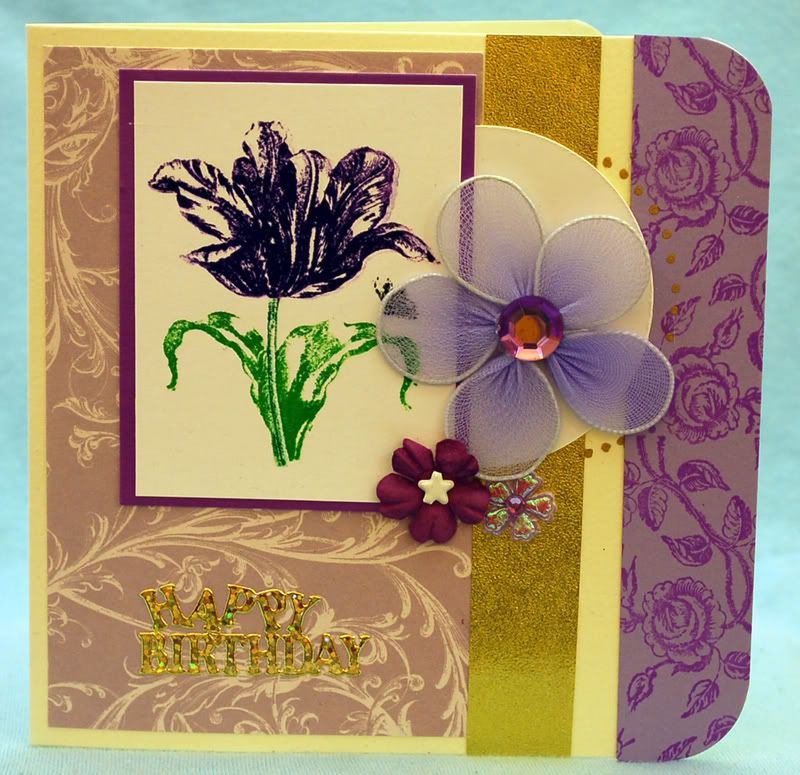
Well I didn't think I would get any crafting done today, but I managed to make three cards :-) This first card I made following the card sketch challenge on ISMAKI #12
I used a cream square card and some lilac Anna Griffin paper, some gold shimmery paper and some purple card which I stamped an Anna Griffin rose background stamp onto. I added a stamped flower which I mounted onto some purple mirror card and then added a couple of different flowers to finish off the design and a happy birthday sentiment.
Just a note
Another pink and brown card
Friday, 28 March 2008
Purple Angel
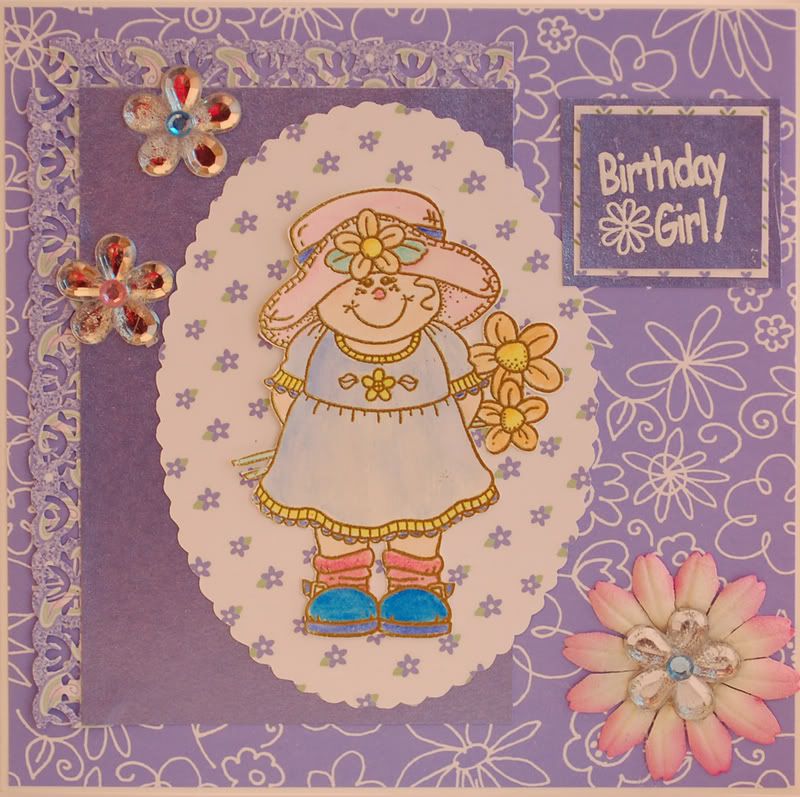
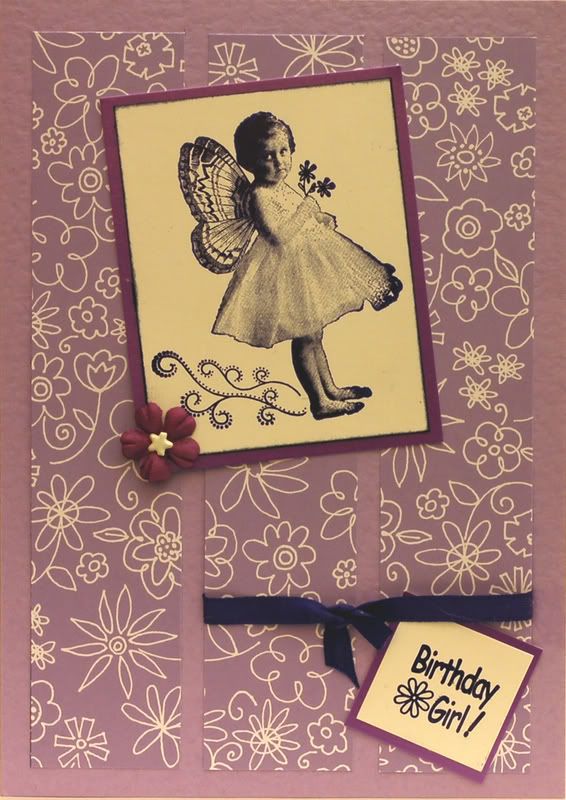
This card, you might recognise the backing :-) I used Pink Peticoat papers for the background and I stamped a cute little angel stamp (Lost Coast Designs) in purple stazon onto white card. I then layered this onto some purple mirror card and put it on an angle on the card. I also stamped a small Birthday Girl stamp in purple stazon onto white card and layered it onto purple mirror card also. Finally I added a small flower, attaching it with a little white brad.
I made this card with two challenges in mind - the first one is Cute Card Thursday, where the challenge this week was to use people on your card.
The second challenge is Wednesday Stamper, where the challenge was to use purple on your card
Labels:
Brads,
Flowers,
Lost Coast Designs,
Stamping,
Stazon
My 1st Gothic Arches
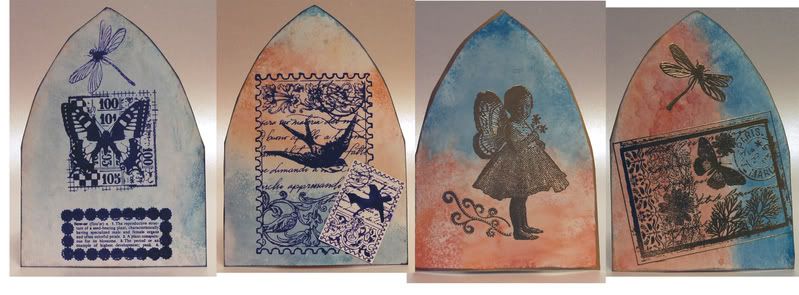
These are my first attempts at making Gothic Arches - I think they are a bit plain and need more texture to them. For the backgrounds I used distress inks and then I stamped various stamps using stazon ink/versamark with gold embossing powders. Here is the link to the templates I used.
Labels:
Crafty Individuals,
Lost Coast Designs,
Paper Artsy,
Stamping
Wednesday, 26 March 2008
One Card - Three Challenges
This card I combined three challenges into one card. The design / layout of the card is the sketch challenge on Papertake Weekly.
Also the Theme Thursday Challenge is to use pink and brown.
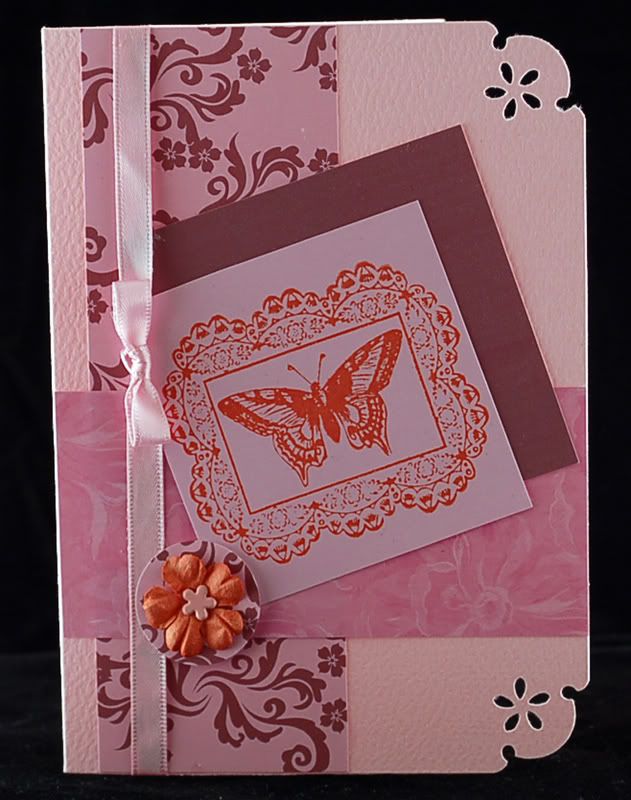
The challenge this week on Arty Girlz is "make something that includes chocolate! Chocolate coloured paper, ribbons, flowers, chocolate smelling embossing powder. A chocolate cake perhaps! The only other condition is that it HAS to include only one other colour (oh ok I'll let you have white too then lol)." So I used chocolate brown and pink as my two main colours and used a DMD butterfly stamp as my main image (don't know what that has to do with chocolate though) LOL.
Also the Theme Thursday Challenge is to use pink and brown.
The challenge this week on Arty Girlz is "make something that includes chocolate! Chocolate coloured paper, ribbons, flowers, chocolate smelling embossing powder. A chocolate cake perhaps! The only other condition is that it HAS to include only one other colour (oh ok I'll let you have white too then lol)." So I used chocolate brown and pink as my two main colours and used a DMD butterfly stamp as my main image (don't know what that has to do with chocolate though) LOL.
Mountboard Squares
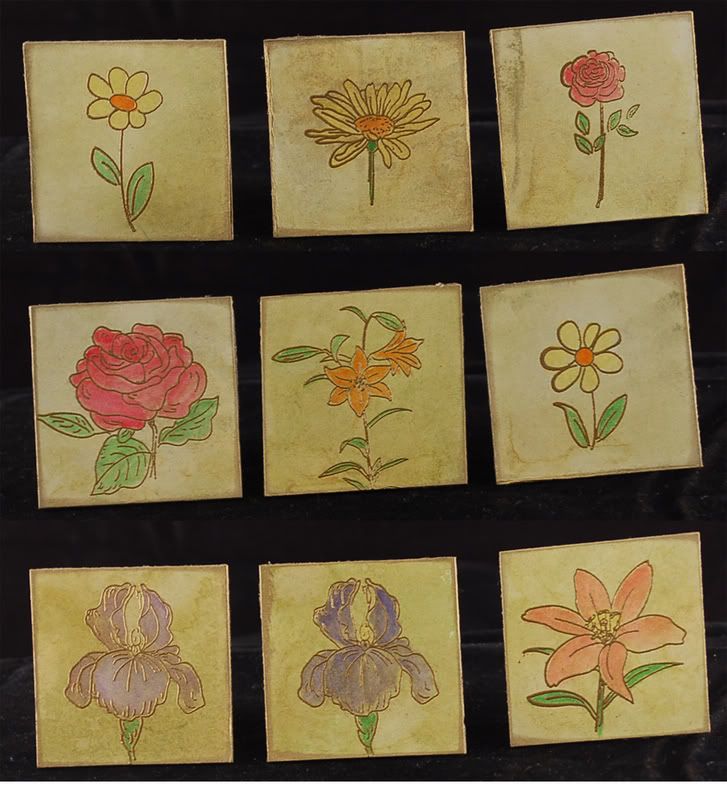
This is the first time I've used mountboard. These are 2" x 2" squares which I have made for a swap I'm involved in. The only condition was that they had to be spring colours. I used my distress ink pads to make the backgrounds and sprayed a little gold glimmer mist on. I stamped various See D's floral stamps using a versamark ink pad and sprinkled gold embossing powder on and heated with my heat gun. I coloured the flowers using my Marvey Le Plume pens and then edged each of the squares in gold.
Click on image to view larger
Di Hickman March Sketch #4
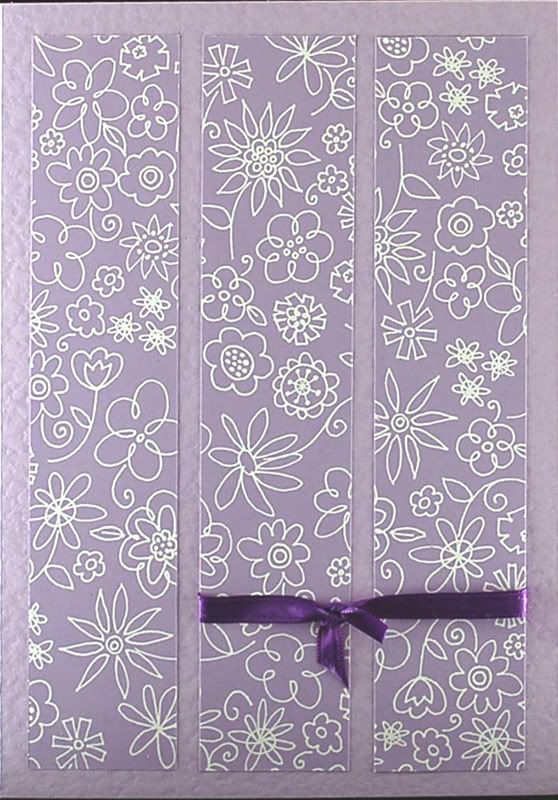
I made this card following a sketch on Di Hickmans Blog. I used a lilac A5 card and the papers I used are from Pink Peticoat. I just added a purple ribbon and bow as on the sketch. I feel that there is something missing from this card - it looks too bare to me. I might alter it and add something else to it ..... but then it wouldn't follow the sketch LOL.
Monday, 24 March 2008
Monday Blues
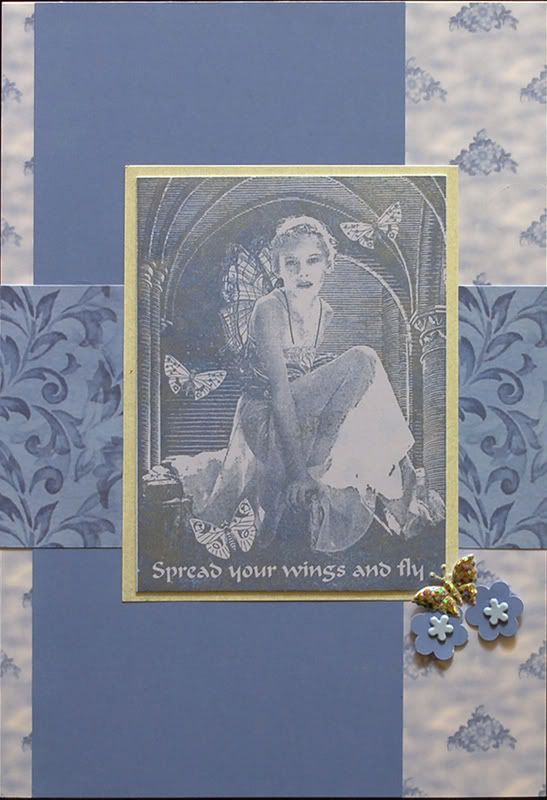
This first card is a 5" x 5" square card, which I covered with some backing paper which I downloaded from Buddy Irish. The stamped image is a Paper Artsy one and I stamped it onto light blue card using an encore metallic ink pad and layered it onto some darker blue and then light blue card again. The Happy Birthday is again stamped in encore metallic ink and the stamp I used it a Docrafts/Whispers one. Again I simply layered it onto dark blue and light blue card and then added a couple of light blue flower brads. Finally I added some grosgrain ribbon down the side.
My Paper World Sketch #7

For this card I used an A5 card blank and covered it with light blue patterned paper downloaded from Buddy Irish. The stamped image is one of my lovely Lost Coast Design stamp which I stamped using an encore metallic ink pad onto light blue cardstock. I added a small silver butterfly and a couple of punched out flowers attached with brads to complete the My Paper World sketch design.
A Couple of Mona's
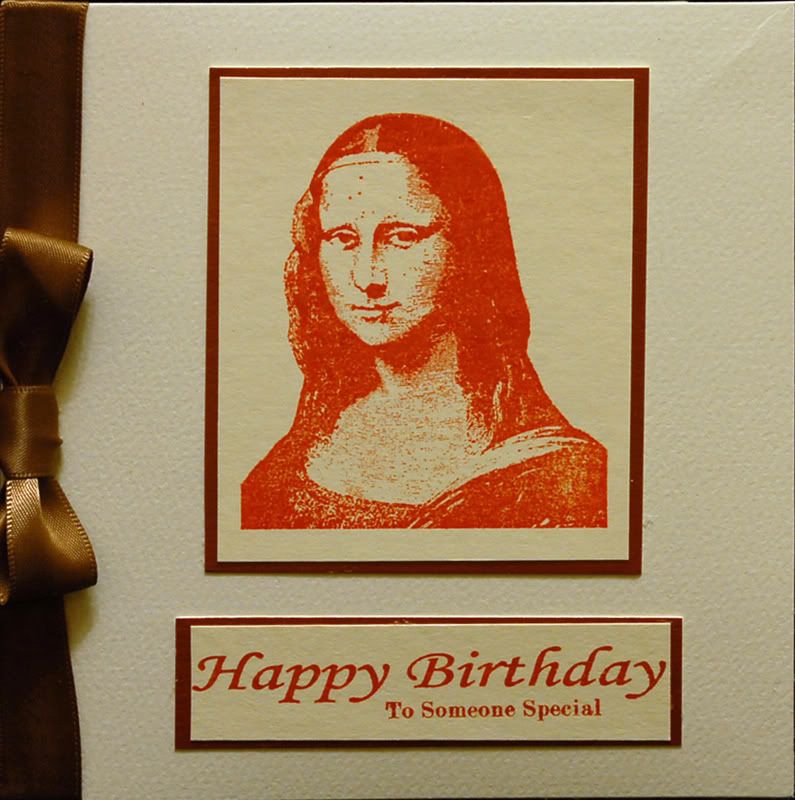
This first one I like the simplicity of it ... a bit like me, simple LOL. I used a 5" x 5" square card blank and I stamped the Lost Coast Design Mona Lisa stamp using rusty brown stazon onto cream card. I just layered this onto some copper mirror card and mounted it onto the card. The sentiment is a Docrafts/Whispers stamp, which again I stamped in rusty brown stazon and matted and layered it the same. I then simply added some brown ribbon down the left hand side and hey - presto a very quick card.
Subscribe to:
Posts (Atom)