Showing posts with label Bind It All. Show all posts

Thursday, 12 June 2008

A Couple of Altered Things

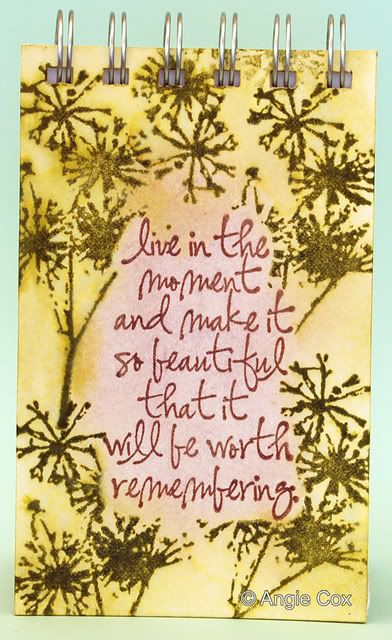
These two items I made for Ann as part of a Me to You swap which I'm involved in. The first thing is a small Bind It All Notebook. I used two pieces of mountboard to make the covers and I used some lined paper for the inner pages. I stamped the sentiment first and then masked it and then stamped the flowers/trees. I coloured the cover using distress inks.

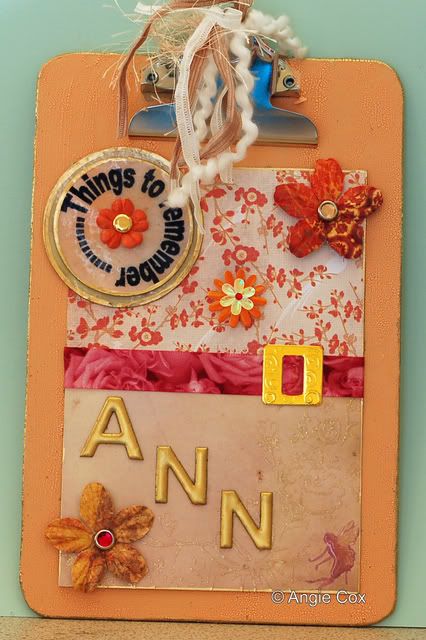
The next thing I made is an altered clipboard - this is the first time I've ever done one of these and I think it turned out okay for a first attempt. I painted the clipboard using Marigold Crackle Paint and then left it to dry. I used two pieces of DCWV papers, one from the Once Upon a Time stack and the other from the Oriental stack. I stuck the two papers onto a thin piece of card and then I added a ribbon with a faux buckle to cover where the papers joined. I then took three chipboard letters and tripple embossed them using gold UTEE. I used my Craft Robo to cut out two circles one with Things to remember printed on to it. I then coloured the circles using shimmer chalks and then I triple embossed them using clear UTEE. I added a small orange prima flower using a brad to attach it to the circles and to the main piece. I then used two of the new collage Prima flowers and again attached these using brads with gem centres. I added a small 3d orange and yellow flower (crafty bitz) As a finishing touch, I used a little glossy accents over the fairy in the right corner and then added ribbons and fibres to the top of the clipboard.

This weeks challenge over on Funky Fairys Blog is "dominated by threes" so as I used 3 prima flowers, 3 brads and 3 letters I thought the clipboard would be ideal to enter.

Thursday, 17 January 2008

First BIA Book

Another wet day here today - I think I'll have to grow webbed feet :-)

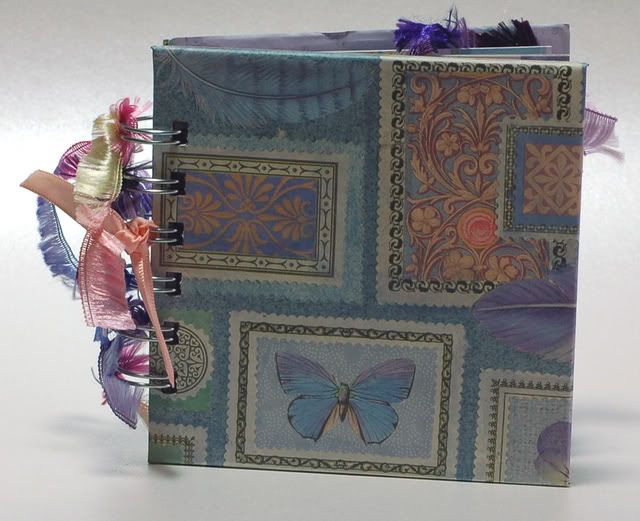
Here is my first proper Bind It All project. I am quite pleased with the results and have learned quite alot of things for when I do my next one.
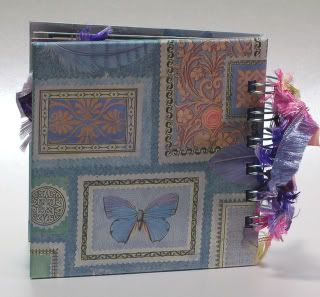
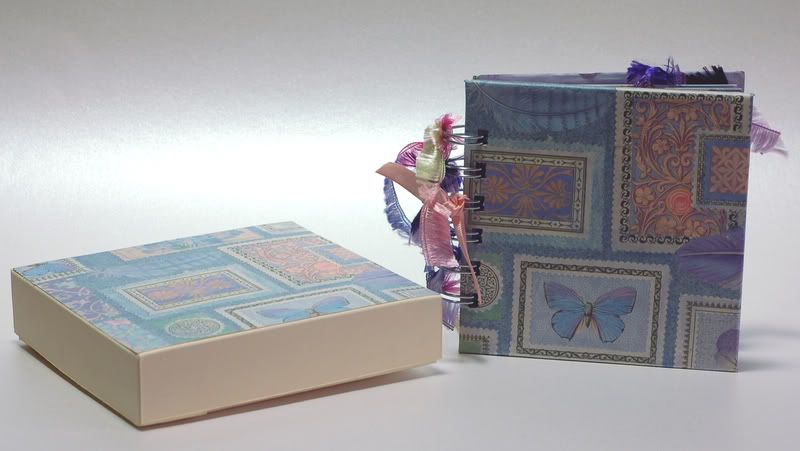
This is the front cover of the book, I didn't think it needed anything adding to it as it is quite a "busy" paper. The paper is from K & Co Garden Collage pad.

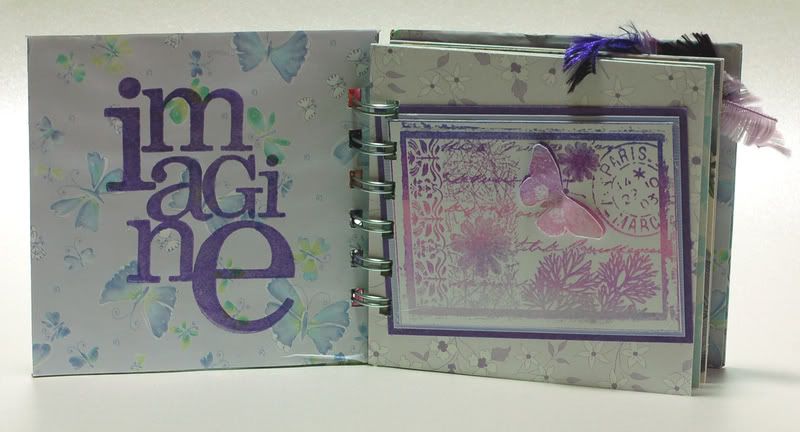
The inside cover of the book is again covered with scrapbook papers and the "imagine stamp" is a Heidi Swapp one, which I stamped and heat embossed. The next page was stamped using a brilliance 3 colour ink pad and heat embossed with clear embossing powder. The stamp is from Crafty Individuals.

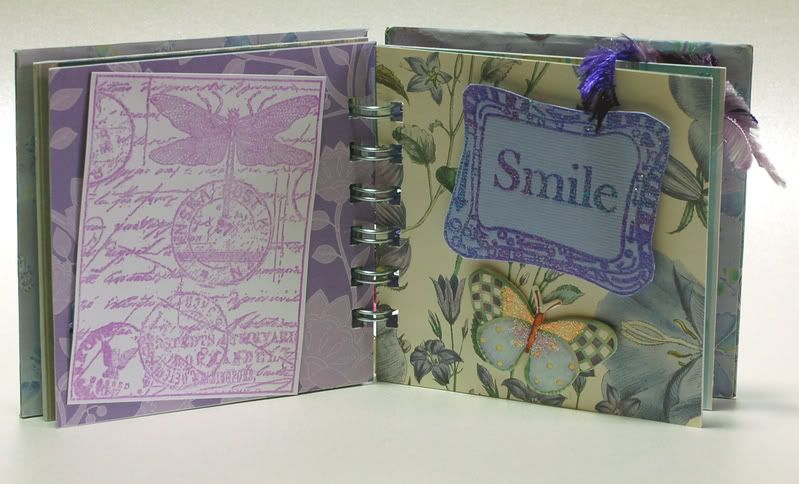
The left page is again stamped and heat embossed and the stamp is another Crafty Individuals one. The right page is covered with Anna Griffin paper and the "Smile" stamp is from DMD. The butterfly is one I bought from Dawn Bibby's shop and it comes already glittered.

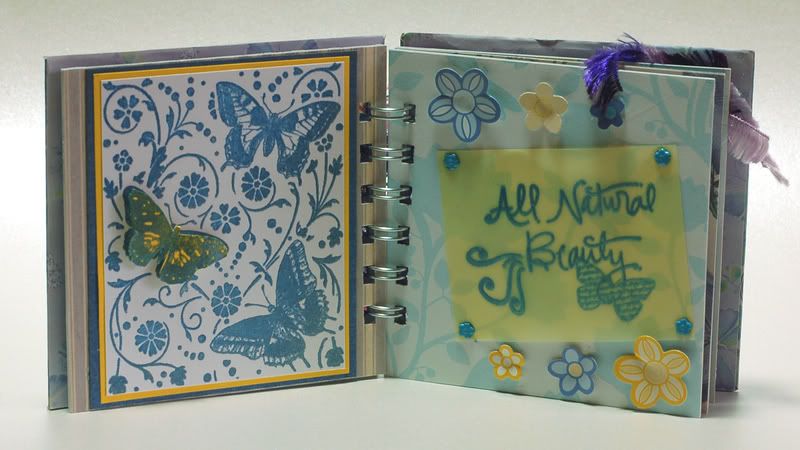
The left page I stamped in encore metalic ink and heat embossed it. I aslo re-stamped one of the butterflies onto yellow card and decoupage it to put a little colour in the page. The right page is a DMD stamp, which I stamped onto yellow vellum and heat embossed again. I just added a few papermania die-cut flowers.

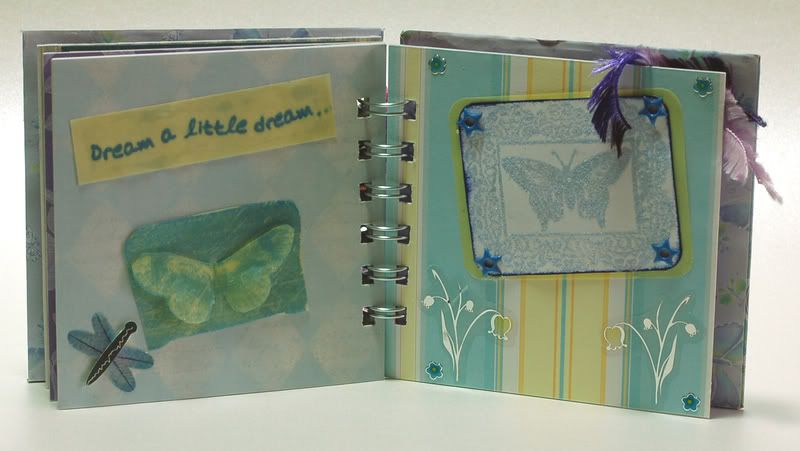
The left page again I stamped using encore metalic ink and heat embossed. The "dream a little dream" is a stamp by Anita's which was stamped onto yellow vellum. The butterfly stamp is another Crafty Individuals stamp, again stamped onto yellow vellum and again I re-stamped the butterfly and decoupaged it. The right page is a DMD stamp, stamped with Versamark pale blue ink and embossed. I attached this to the page using little flower brads and then just added a couple of Papermania flower stickers.

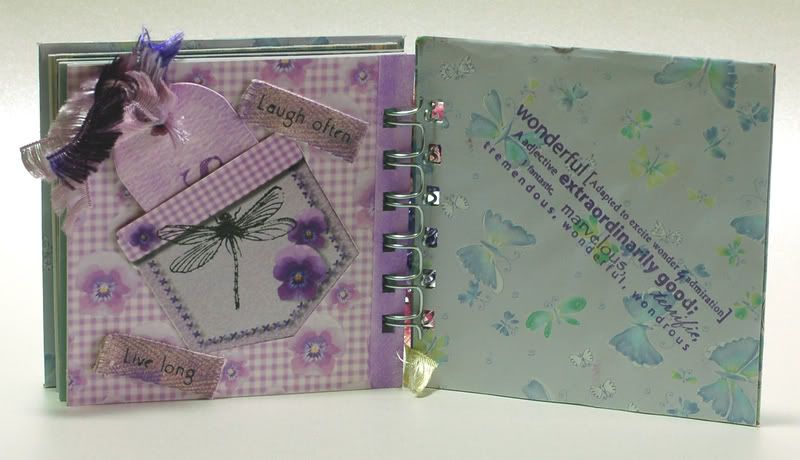
The right page is part of a download scrapbook page / set from Cuddly Buddly. I inked the tag using versamark ink and stamped Smile on it in a darker purple ink. I then added two pieces of twill ribbon, which I also inked with versamark purple ink. The last page is the inside of the back cover and I just covered it with scrapbook papers and stamped and heat embossed the saying - I think it is an Anita's stamp.

The back of the book is basically the same as the front. When the book was finished I just added a few bits of fibres and ribbons onto the o wires.

I made a box and covered the lid with the K & Co Garden Collage paper. I decided to send this book to a forum friend who has been feeling a bit down in the dumps lately. I hope she likes it.
Now I have completed my first book, I can't wait to start on my next one :-)