Friday, 21 March 2008

Happy Easter

I just wanted to wish everyone a Happy Easter :-)


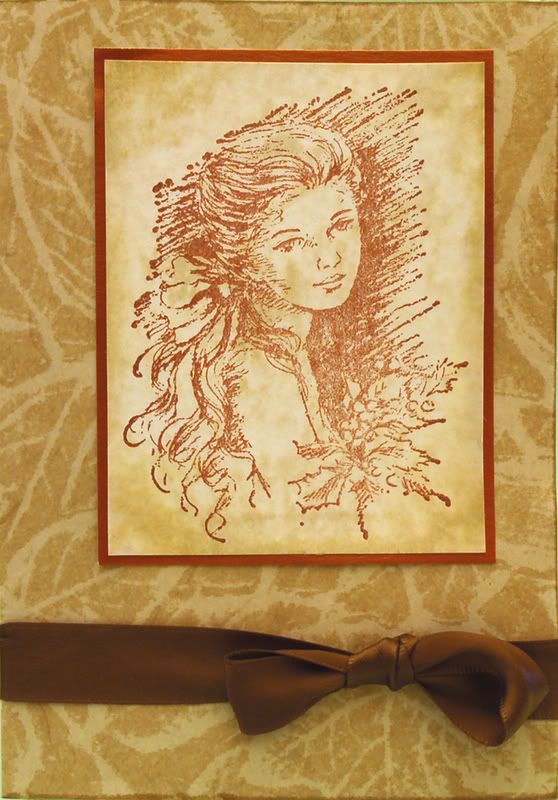
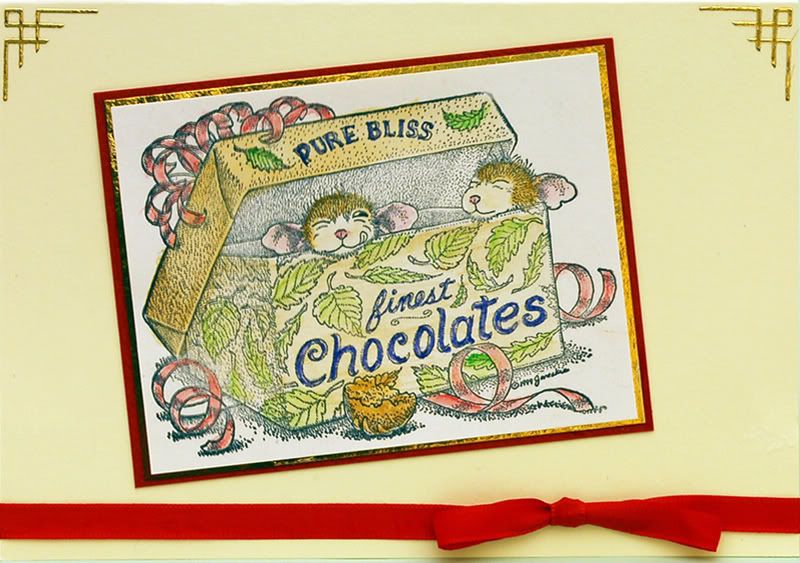
This card, I made for a sketch challenge, on My Paper World. I have to admit it isn't quite to the sketch, but I hope it will be okay LOL


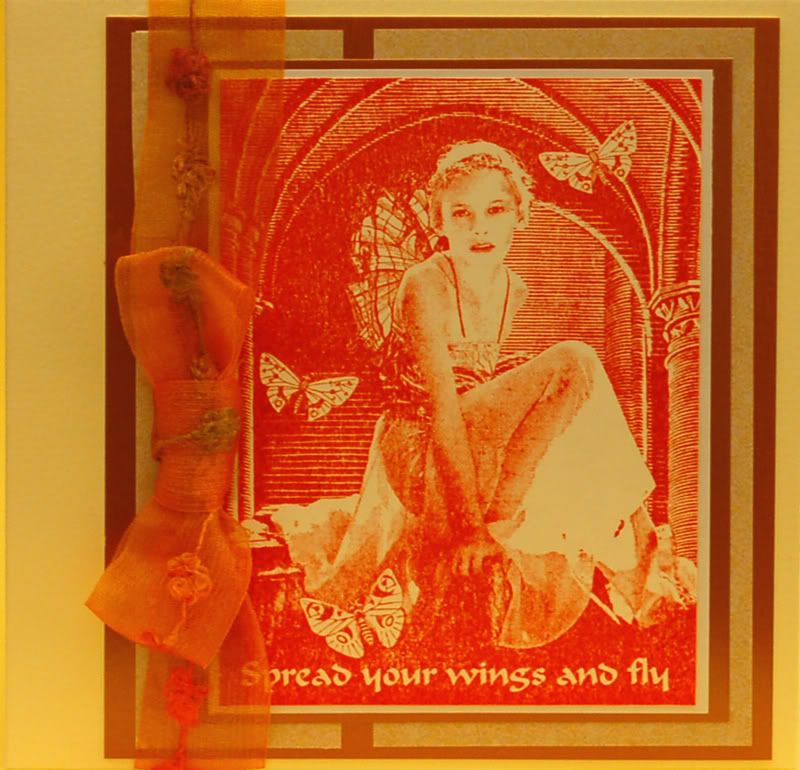
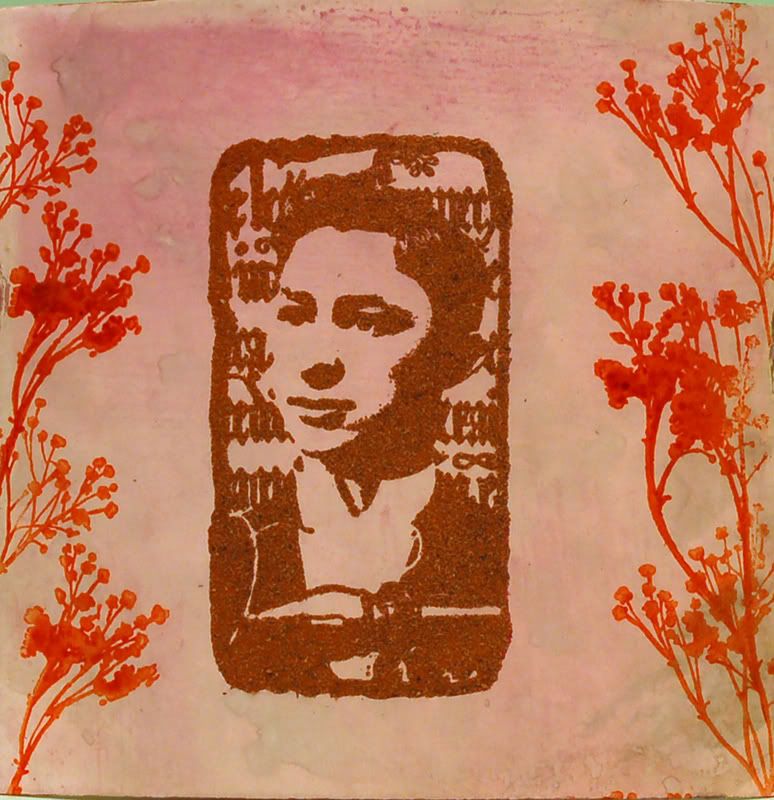
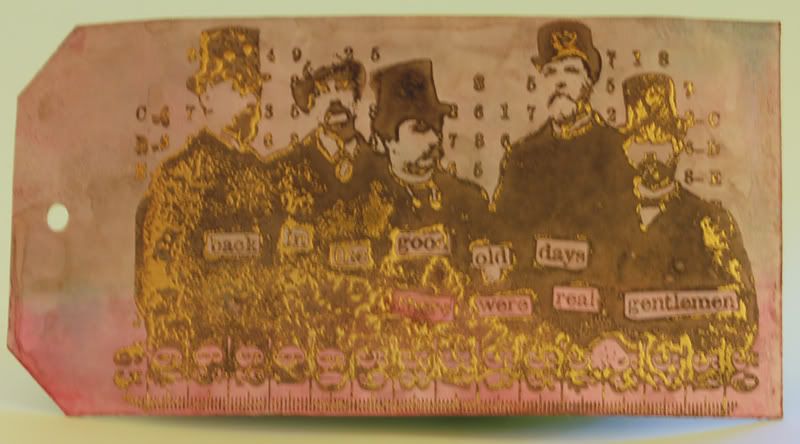
For this card I used a Lost Cost Design Stamp and stamped it using rusty brown stazon ink onto white card. I then layered this onto some copper card. I used two pieces of beige paper again layered onto another piece of copper card and then put the main "topper" onto this. I added an orange ribbon and then realised that the ribbon should have gone more over towards the stamped image.

Inspired by a friend


One of my forum friends has some lovely black and white cards on her blog. I was so inspired by these and so made some today. Thank you Andrea for the inspiration :-)


For this card I used a black A5 card and some Pink Peticoat papers. The stamped image is one of my new Lost Coast Design stamps - Winged Girl and stamped using black stazon onto white card. I simply layered the stamped image onto some black and white cardstock and mounted it onto the card, added some black ribbon and a bow.

Spread your wings and fly


This is another of my new Lost Coast Design stamps - Spread Your Wing and Fly. Again, I stamped the image onto white card using black stazon and then layered it onto white and black card. The paper I have used is again another Pink Peticoat one and again I simply added a black ribbon and bow. I do like black and white cards :-)

Wednesday, 19 March 2008

Birthday Card


This card I made for a forum friend's birthday. The stamped image is one I stamped at a craft club a while ago.

I used some distress ink over the stamped image to give it an aged look and then I layered it onto some copper mirror card. I added a brown ribbon and it was finished.

Some Fat Book Pages - Challenge 6


These are a few more fat book pages which I've made for a swap. I've used distress inks to make the backgrounds and then used various stamps and stazon ink.

This weeks challenge on My Time to Craft is Quotes and Sayings, so I thought I could combine these with the challenge also.

Tuesday, 18 March 2008

Another Cutie


I don't know why but I am not tired tonight and I've just finished another quick card. I used an A5 lilac card and added some white floral background paper. I took the "little sprout" image and layered it onto purple pearlescent card and then onto some lilac patterned card then matted it onto the main card on an angle. I added some purple dotty sticky ribbon and some little button flowers.


Click on image to view larger

Monday, 17 March 2008

Yummmmy Chocolate


I made this cute card today. The House Mouse stamped image is one I got from a stamped image swap. I used watercolour pencils and Marvey Le Plume pens to watercolour the image. I layered the image onto gold mirror card and then red cardstock and then mounted this onto an A6 cream card. I added a couple of gold peel offs and a red ribbon and bow .. and hey presto.

I came across a new challenge blog, Cute Card Thursday, so I thought that I would submit my card to the challenge which was new beginnings as this is the first time I've used a House Mouse stamp - so hope this counts


Shop 'til you drop


This card is not my usual style of card, but I did enjoy doing it and made a change from getting inky and messy

I used an A5 pink card and some black and pink dotty papers and the lady, hat, gifts and umbrella are decoupaged - this is a set I bought from DAISE. A very girly card I think.

The challenge over on My Time to Craft was Tickled Pink so this card is definately pink LOL


Click on image to view larger

Sunday, 16 March 2008

I'm a Lady


This card I made for Hels Sunday Stampers challenge. This weeks challenge was to make something using a stamp that has a woman, laydee, female image.


I used an A5 white card and stamped all over it using an Anna Griffin background stamp in worn lipstick distress ink and I also edged around the card. The main stamped image is one I stamped a while ago at craft class. I coloured it using Marvey Le Plume pens and a waterbrush. Then I matted it onto gold mirror card and then red card. I simply added a few little red flowers, which I attached using gold brads and them a piece of ribbon and a bow to finish it off.


Click on picture to view larger

Saturday, 15 March 2008

What a Week


I have finally managed to make these two tags for a monthly tag swap I am in. I cut some white thick card to 6" x 3" and made it into a tag. I used a new technique on these tags which Hels showed on her technique blog - the technique is called "batik".

I used a rose stamp and a sunflower stamp and stamped randomly onto the white tags using versamark ink and then covered with clear embossing powder and heated. When it was cooled I used my distress ink pads and covered the tags using shabby shutters and pine needles ink. I then covered the tags with some kitchen roll and ironed over them. This melted and lifted off the embossing powder and so left a lovely white image. I then used slide mounts and dabbed some distress inks on them. I stamped a small rose and a small flower onto some white card and coloured them using my sakura glitter pens. I then put these into the slide mounts and used sticky pads to raise them off the tag. I stamped "in bloom" onto a piece of green vellum and attached it to the tag with small flower brads. For the backs of both tags I just stamped in rusty brown stazon using one of my Anna Griffin background stamps.


Monday, 10 March 2008

Sunday Stampers Challenge Week 7


Thank you Hels for setting another great Sunday Stampers Challenge. This week the theme is Oriental. Same rules as usual, inky, stamping and whatever media you would like to use; cards, ATCs, Tags, whatever you want to make".


Well I had so much fun making this tag. I used a red 6" x 3" tag and then made a slightly smaller tag in black. I used an oriental background stamp to stamp on the black card with a versamark ink pad and then I put on gold embossing powder and heated it. I stamped a very large oriental lady in stazon onto a piece of white shrink plastic and coloured it using sakura glitter gel pens, painted on with a waterbrush, to get a very soft finish. I then punched a hole in the shrink plastic before heating it to shrink it. The main image I stamped onto a piece of white card using versamark and again used gold embossing powder. I coloured the image using the sakura glitter pens and waterbrush. I then gently rubbed over the image and the white card with some distress inks, to give it a slightly aged look. I decided to have a go at triple embossing, so I inked the distressed piece of card with versamark ink and dipped it in to some UTEE and then heated with the heat tool and then repeated again twice. I matted this on to black card and then gold card and mounted it onto the tag. I attached the shrink plastic piece with a little piece of red and gold thread to the bottom of the main image - so the shrink plastic piece "swings".

Sunday Stampers Challenge Week 6


Well I have finally managed to complete last weeks Sunday Stampers Challenge, set by Hels. "Make a card, ATC, Fat Page, Moo, Skinny, tag...in fact, just whatever you wish....but you must use an image of a man or of men." Unfortunately this one didn't photograph very well at all. I used distress inks for the background on the tag and then I stamped the image using a black ink pad. I had trouble getting it to dry, so after heating it with my heat gun I sprinkled a little gold embossing powder over the image and then heated it again. This is definately a "looks better in the flesh" one LOL.

Me to You Swap Project 1


I joined in a monthly swap, along with about 14 other people. The object of this swap is to create mini projects of your choice to send to others on the list. The general idea is that once you have received a piece of craft, then you could use it for inspiration or interpret in your own way. This is the first project I have made.


I used a blank wooden picture frame and covered it with aluminium foil tape and then dabbed alcohol inks over it. I then added 6 small paper flowers, each with a touch of gold glitter in the centre. The rose picture is from one of Joanna Sheen's CD's. I printed the design out and then decoupaged it up. I also printed "Sammy" on the inner frame.


Please click on picture to view larger

Sunday, 9 March 2008

What are Fat Book Pages?

A few people have asked what are fat book pages, so I will try to explain. A fat book page has to be 4" x 4" and like ATC's, you can decorate/embellish it however you want to.

When you have several pages, you can make them into a little book and put a front and back cover on if you wish to. I am involved in a couple of different fat book swaps:- flowers, winter and distressed pages. In the swap there are approx 20 people who all make a page and physically post it - so for each list/swap I am on I will receive 20 pages and then I have enough to make a gorgeous little book. So I should end up with a book full of winter pages, another with flower pages and also one with distressed pages.

I hope this makes sense, as I am not very good at explaining things.

Thursday, 6 March 2008

More Fat Book Pages

These are a few I've made this evening .... well I mean these are a few of the different ones, I made about 10, but most are variations of these three. For all of them I used distressed ink to make the backgrounds and then I used various things off Tim Holtz Elements CD.

Click on pic to view larger.

Mona Lisa Fat Book Pages


These are two fat book pages which I have made. I used distressing inks for the backgrounds. The stamped images of Mona Lisa were sent to me by a friend and I coloured those using distressing inks and added them to the background. I then cut out the crowns from the Tim Holtz Elements CD and used silicone glue to attach them to the page.
click on pic to view larger

Mother's Day Gift


This is a little box which my 3 1/2 year old son made at nursery school for me for Mother's Day. It had a little chocolate inside.
Please click on picture to view larger.

Wednesday, 5 March 2008

Been playing with ink again


I've had a very crafty morning. I've started on 20 Fat Book Pages - I've done all the background using distressed inks and I am now just waiting for them to dry.

I have also altered another frame. I used a cheap wooden frame and covered it with aluminium foil tape and then used my alcohol inks on it. I added a picture of my youngest son and we are giving this to his great nan.

Click on picture to enlarge

Tuesday, 4 March 2008

What a Charley

This card I made using Cuddly Buddly papers and rubber stamp - the stamp is called Charley and is soooo cute. I stamped the image in versamark and embossed it with gold embossing powder on white cardstock and then I did the same on some patterend paper. I cut the dress out of the patterend paper and placed it on top of the stamped image. I used marvey le plume pens for the colouring of the rest of the image. I matted the image onto some peach card and then gold card and I added a strip of the background paper with a strip of gold underneath and added a few flowers, held in place with little gold brads.


This card is for a challenge on My Time to Craft, this weeks challenge is to use flowers on your project.


To view larger, click on picture.